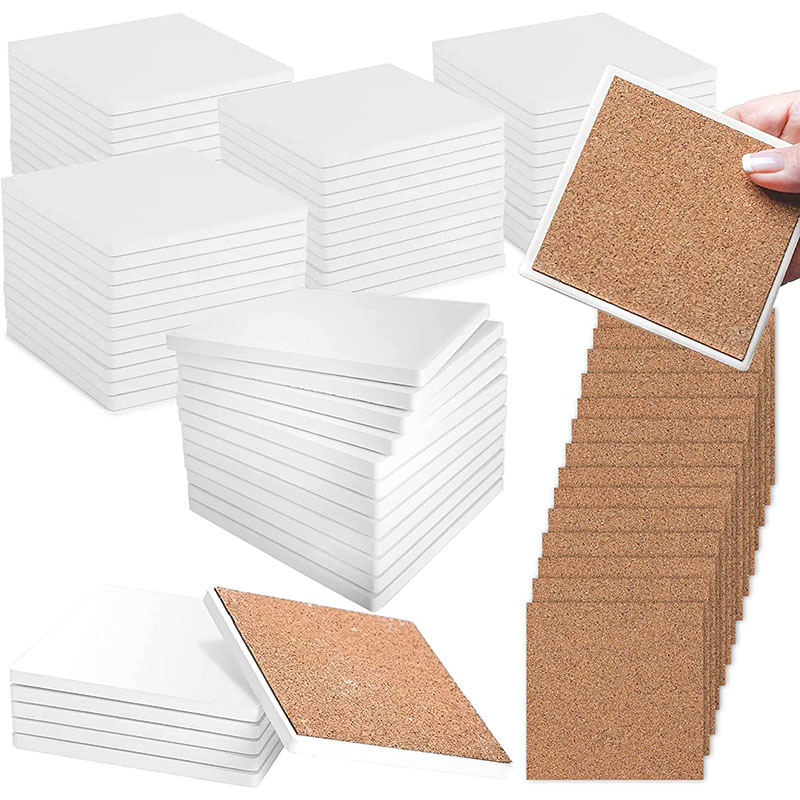
Are you looking for a creative way to protect your coffee table while adding a personal touch to your home decor? Look no further than DIY ceramic coasters! Crafting your own ceramic coasters is not only a fun and fulfilling project, but it also allows you to showcase your unique style and creativity. In this blog, we’ll guide you through the process of creating your own beautiful ceramic coasters, from selecting the materials to adding the finishing touches.
To start your DIY ceramic coaster project, you’ll need a few supplies: ceramic tiles, cork backing, adhesive, and protective sealant. You can find these materials at your local craft store or online. Once you have gathered your supplies, it’s time to unleash your creativity! You can use various techniques such as painting, stenciling, or decoupage to decorate your ceramic tiles. Consider incorporating patterns, designs, or personalized messages to make your coasters truly one-of-a-kind.
After decorating your ceramic tiles, allow them to dry completely before applying a protective sealant. This step is crucial for ensuring the durability and longevity of your coasters. Once the sealant has dried, it’s time to attach the cork backing to the bottom of the tiles. The cork backing will provide a non-slip surface and prevent your coasters from scratching your furniture.
Not only are DIY ceramic coasters a charming addition to your home, but they also make fantastic handmade gifts for friends and family. You can personalize the coasters to suit the recipient’s taste and style, making them a thoughtful and practical present for any occasion.
In conclusion, crafting your own DIY ceramic coasters is a delightful way to unleash your creativity and add a personal touch to your home decor. Whether you’re a seasoned crafter or a beginner, this project is accessible and enjoyable for all skill levels. So gather your materials, let your imagination run wild, and start creating your own set of unique and functional ceramic coasters today!
Post time: Mar-04-2024


